

With the Exhibition Space Manager, you can create and build floor plans, then track which locations you've sold and who's bought them. The fully interactive and visual interface allows your sales team to see which spaces are available to select from when creating a Proposal for a customer.
Creating an Exhibition Product #
Once inside the Products window, click the New Product button located in the upper left-hand corner. Then, select the New Product Type button to start setting up a custom product category tailored to your specific advertising or sales needs. This action allows you to define a new structural type for the product before proceeding with additional setup details such as units, pricing, and scheduling.
Note: If you already have a product type set up you can skip to creating your product.
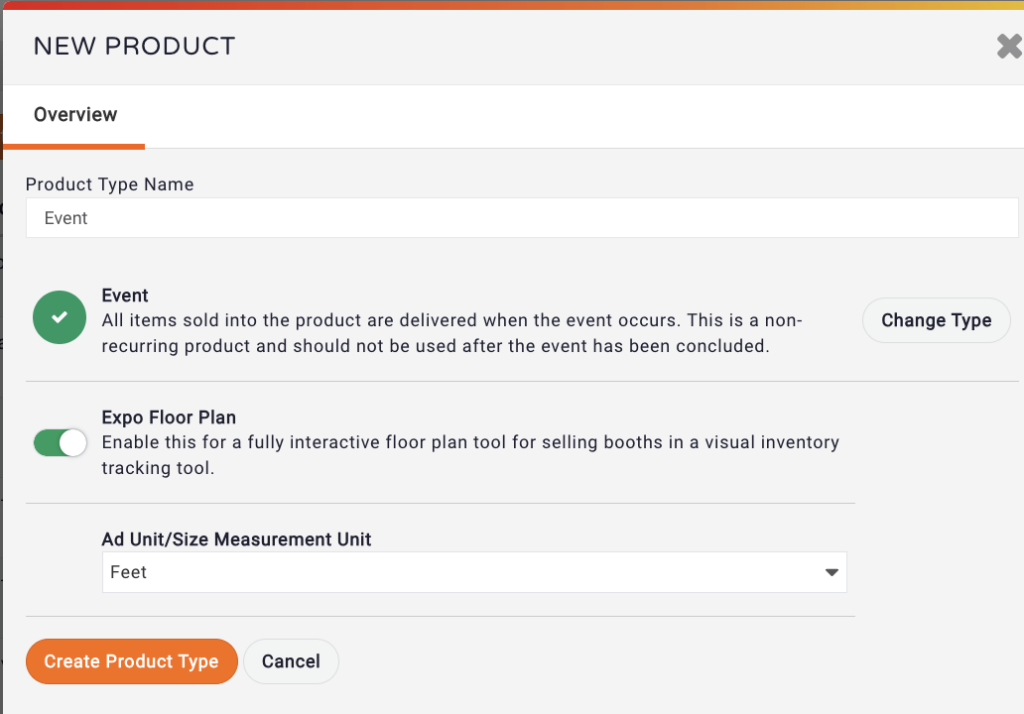
To continue setting up your new product type in MediaOS, begin by naming the product type. From there, select Event as the category, and be sure to turn off the Floor Plan option if it’s not required for your setup. Next, choose the appropriate unit of measurement that your floor plan or product will use from the Ad Unit/Size Measurement Unit dropdown menu. Once all fields are configured, click the Create Product Type button to finalize the product type setup and proceed to defining specific ad units or inventory details.
After creating your product type, a confirmation window will appear. Carefully read the message, then type "I Understand" into the text box to acknowledge the information. Click Confirm to proceed. Next, name your product, input the date of the event, and click Save to complete the initial product setup. This step officially adds the event-based product to your MediaOS inventory, allowing you to move forward with configuring ad units, pricing, and scheduling.
Inputting Your Booth Sizes #
Once your event has been created as a new product, you can begin adding booth sizes for sale using the Exhibition Space Manager. From the Products page, locate your newly created exhibition and click Manage to open the product configuration.
Click the + Add Unit button to start setting up a booth size. In the New Unit/Size window, you’ll be prompted to enter a few key details. Choose a Color to visually represent the booth on the floor plan, then enter a Name that clearly identifies the booth type. Next, define the booth’s Width and Height to establish its dimensions.
After completing the required fields, click Save. A new section will appear at the bottom of the page, allowing you to assign pricing to the unit. Begin by entering the Ad Rate Name to identify the rate associated with this booth size, and continue configuring your rates from there.
Next, input the name and amount of the rate. You will also need to select the location where this rate applies. Once the rate details are entered, click Save to confirm. Repeat this process for each of your ad units and rates, ensuring that all rates are configured properly for your available ad sizes.
Uploading a Floor Plan to the Exhibition Space Manger #
With the booths configured, you can now import a copy of the floor plan for your sales reps to use when selling spaces.
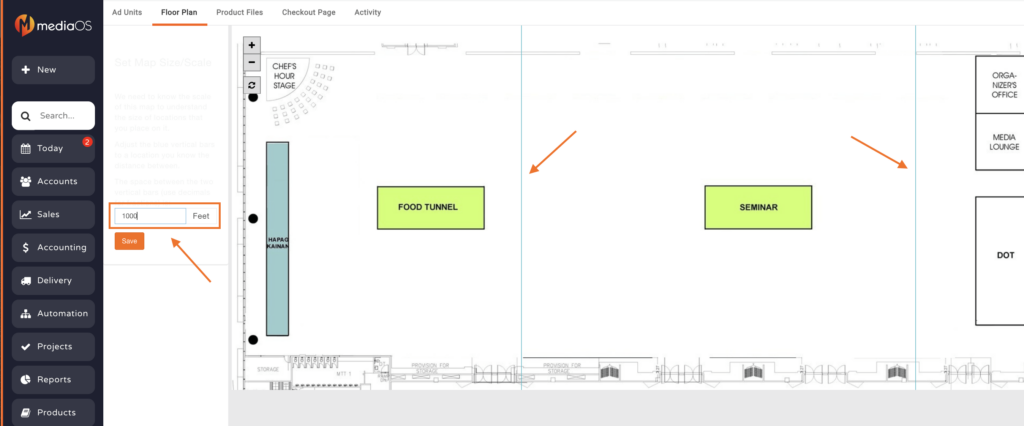
From the Product Details page, navigate to the Floor Plan tab to begin uploading your layout. You can either click the Upload File button to select your floor plan from your device or simply drag and drop the file directly into the window. Once the floor plan has been uploaded, you'll need to set the scale of the room. Use the zoom tools to adjust the view of the floor plan as needed. It’s recommended to click and drag the two blue lines to align with the outer perimeter of the space, then input the actual dimensions of the entire room. This step ensures accurate scaling for ad unit placement and inventory tracking.
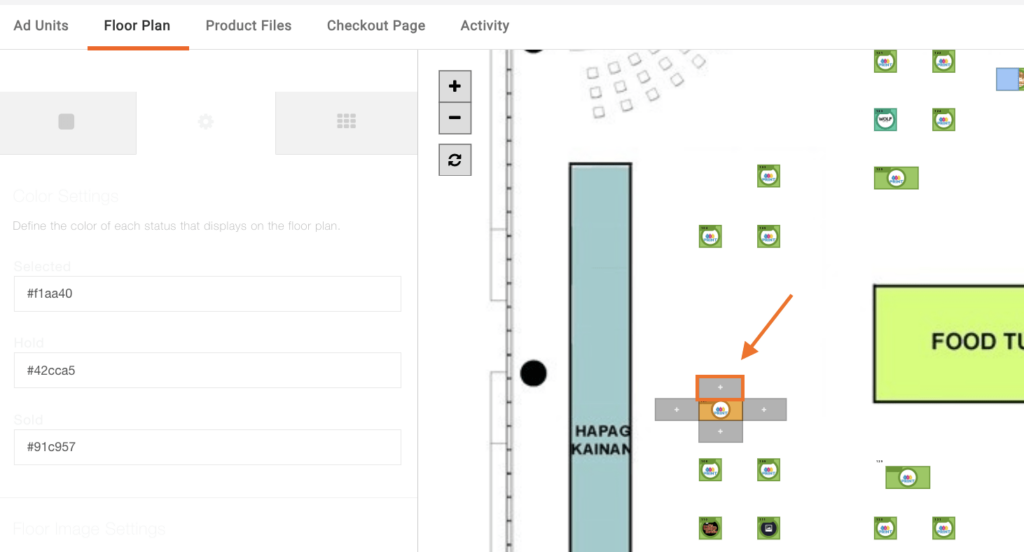
Click Save to lock in your floor plan settings. Once saved, your created Ad Sizes will appear in the left-hand columnunder the first tab. You can now drag an Ad Size to place it onto one of the available booth spaces on the floor plan. To reposition any booth, simply drag and drop it to a new location. You can also double-click a booth to either add a number or rotate it 90 degrees. To customize booth colors based on their status—Selected, Hold, or Sold—click on the second tab in the left-hand column. Continue to drag-and-drop ad sizes onto the floor plan until all booths have been added. For quicker placement, use the + button to duplicate the selected ad size into the adjacent available space.
Selling a Booth Space in the Exhibition Space Manager #
When building a proposal, you will select the exhibition Product. This will display your floor plan where you can select one of the available booth spaces.
Note: The floor plan doesn't show logos of companies on hold on the public floor plan to ensure there is not any false advertising or other competitive things taking place. The floor plan will show the booths on hold internally, however, when booking via the order or line item edit screens.
Sending the Floor Plan to your Clients #
You can utilize the Copy Floor Plan URL button found in the top right-hand corner of the product details page to embed it on your site so that vendors can view available spaces or see where their space is.
When a client goes to this link, they will see a copy of the floor plan and all available spaces.

