

Creating an activity goal using the Goals Window is a simple process.
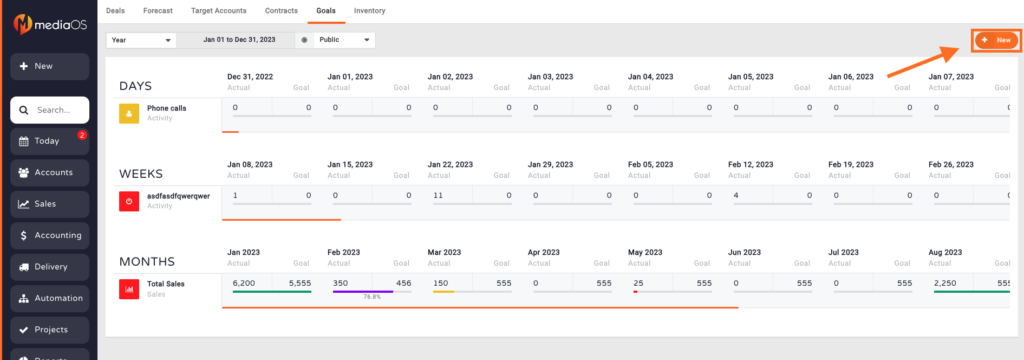
From the Goals Management window under the Sales tab, click the + New button to display the New Goals window.
Using the left-hand preferences, complete the following information.
- Name - The name of your goal.
- Icon & Color - Choose a clipart icon and color to be associated with this goal.
- Allow All Sales Reps to See Each Other's Sales Totals - Use this if you wish to allow your sales reps to view each other's sales information.
- User Group - If you use user groups, you can select the group from the drop-down menu. This will also prevent users who are not part of the group to see this goal.
- Goal Type - Select "Activity" for your goal type.
- Time Units & Date Range - Select the amount of time and date range you want to be displayed for your goal.
- i.e. if your goals are quarterly, make sure you set your range at the beginning and end of your quarter. This is an important step because it goals will repeat based on this information.
- Activity Types - Select the activity type you are setting goals for; Appointments, Email, Follow-up and/or Phone. Select all or a few by checking the box to the left of each activity type.
Additional Features:
- View a top level goal and associated users at the same time by clicking on the goal's name.
- Goal support for phone calls, emails, appointments and follow-ups, page count totals, discount totals, revenue per page average, insertion counts, hard costs, commission totals, average discount, contract counts and invoice net minus hard costs.
- User Group Support to filter goals by a user group.
- Use the Copy Targets Forward to save time when entering future goals.

