When using the QuickBooks Online integration with MediaOS, external numbers are assigned to invoices to confirm that syncing between the two systems has occurred successfully. However, occasionally invoice number conflicts—known as collisions—can occur when a number already exists in QuickBooks. Adding a prefix to your invoice numbers is the best way to prevent collisions and ensure smooth syncing.
Why Invoices Might Be Missing External Numbers #
External numbers are automatically generated by MediaOS during the sync process with QuickBooks Online. If an invoice number created by MediaOS already exists in QuickBooks, a collision occurs, and as a result, an external number will fail to generate. Without an external number, there is no confirmation that the invoice synced properly. Setting up a unique Number Prefix ensures that all MediaOS invoice numbers are distinct, minimizing the risk of collision and preserving the integrity of your accounting sync.
How to Set Up a Number Prefix #
To add a prefix to your invoice numbers, start by clicking your Profile Avatar located in the bottom-left corner of your MediaOS dashboard. From the dropdown menu, select System Settings, then choose General Settings.
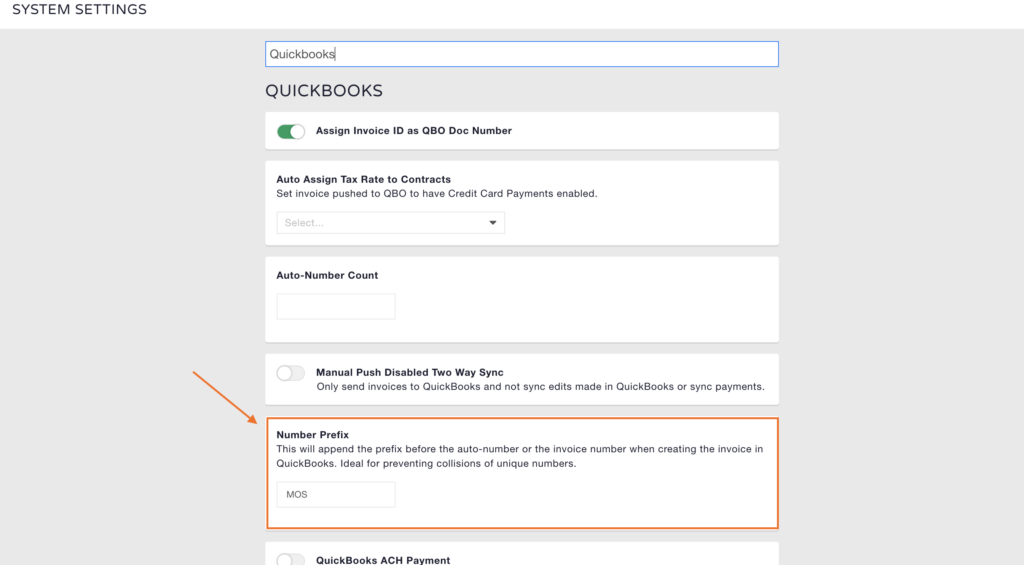
At the top of the General Settings page, use the Search Bar to type in "QuickBooks" and locate the relevant settings. Under the Number Prefix field, enter the set of letters or word you want to appear before each invoice number. For example, you might choose "MOS" so that an invoice number would appear as MOS-1234 inside QuickBooks.
Note: It is not recommended to use numbers alone as a prefix. Using letters or a word dramatically reduces the risk of future collisions and ensures that your invoice numbering remains unique.
Once entered, your prefix will automatically save. Going forward, all newly generated invoices in MediaOS will include this prefix as part of their external number when syncing to QuickBooks.