

You can build branded Media Kits in MediaOS to showcase your offerings and share polished sales materials with prospects and clients. Uploading Media Kits to MediaOS allows you to attach them directly to proposals, helping you sell with confidence and consistency.
Note: You must be signed in as an Administrator or Sales Manager to create or attach media kits.
Creating New Media Kits #
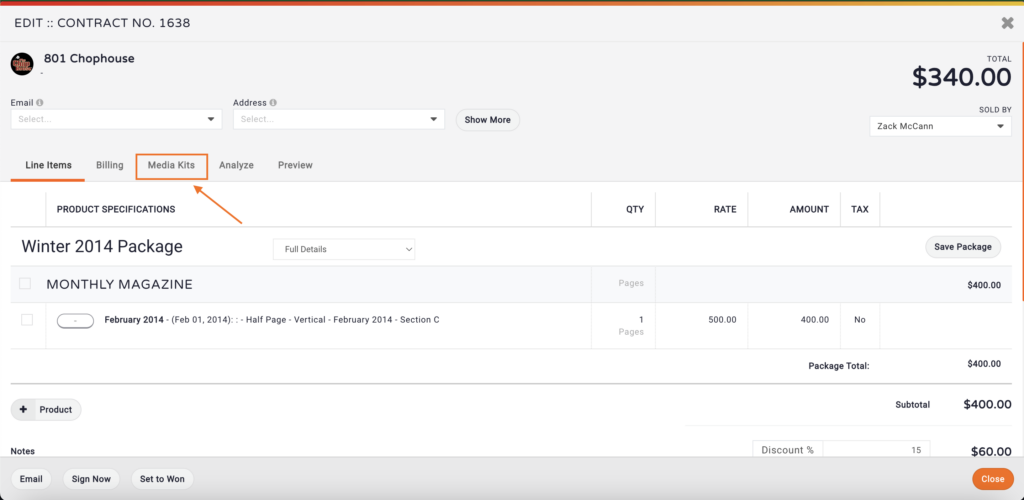
Before attaching a media kit to a proposal, it needs to be created within MediaOS. Start by navigating to Sales in the left-hand menu, then click the Contracts tab to view your active contracts and proposals.
Find the relevant contract and click View. Inside the contract panel, click Edit to enter the contract editing screen. At the top, select the Media Kits tab, then click New to begin the setup process.
You’ll be prompted to name your media kit—enter a title in the dialog box and click OK to proceed. This will open the Media Kit Edit Window.
Inside the editor, you can either upload a pre-designed media kit as an image file (formats like .jpg or .png are supported) or create your kit directly using the built-in editing tools. Note that PDF files are not currently supported for upload. Once your media kit is complete, click Save to store it within the system.
Managing Existing Media Kits #
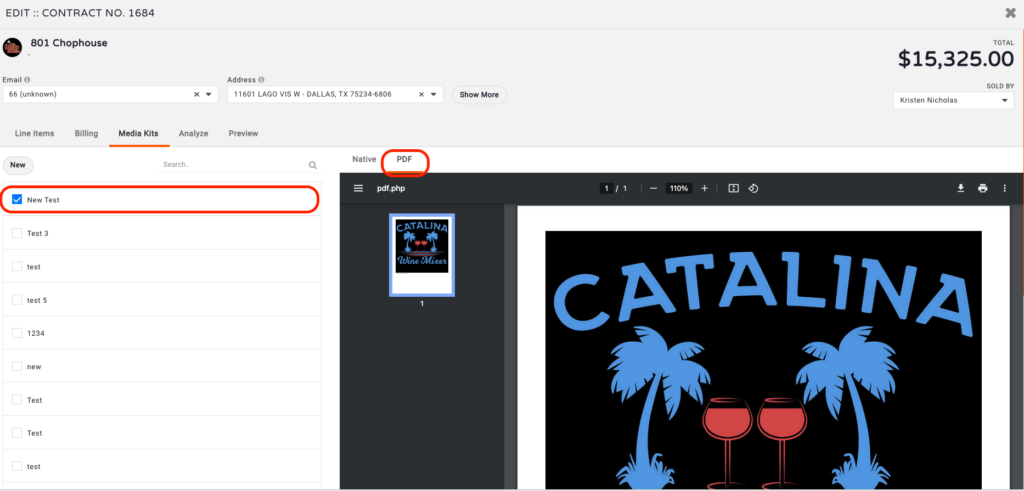
To update or manage an existing media kit, navigate to the Media Kits section within the contract editing screen. Here, you will see a list of all previously created media kits. You can use the Search bar at the top to quickly locate a specific kit.
Clicking on a media kit will allow you to preview its contents, and you can switch between the Native view and the PDF view (if available) to see exactly how the kit will appear to end users.
When you hover over any media kit, the More Options button will appear in the top-right corner. Select the three-dot menu in the top-right corner of the media kit panel. From here, you can Edit, Rename, Duplicate, or Archive the media kit.

As you can see above, these options make it easy to maintain a clean, organized media kit library—perfect for teams that work across multiple markets or campaigns.
Select Edit to open the media kit editor and make any necessary updates to the content or layout. If you need to change the name of the kit, click Rename to update the title. To create a reusable version for different campaigns or testing purposes, click Duplicate to generate a copy of the media kit. If you no longer need a particular media kit but want to keep it for historical records, click Archive to remove it from the active list without permanently deleting it.
Tip: Keep your media kits current with seasonal updates or new product offerings to ensure clients always receive the most relevant information.
Viewing or Downloading Media Kits #
To view or export a media kit, check the box next to the version you’d like to access. A native preview will automatically populate in the panel, allowing you to review the content in-line.
If you need to send or save a downloadable version, use the PDF option available to the right of the native preview. This will generate a printable, client-ready version of the kit.
Tip: Always preview the kit before sending to ensure it’s up-to-date and aligned with the contract’s offerings.

