

MediaOS makes it easy to manually log a payment against an invoice—whether it's been processed online, received via check, or handled through alternative payment methods like barter or trade. Logging payments properly ensures your accounting records stay accurate and up to date.
Accessing the Payment Screen #
To begin logging a payment, first navigate to the Accounting section using the left-hand navigation menu. This will open the Invoices page, where you can locate the invoice you're working with. Click the View button next to the relevant invoice to display its details.
Once inside the Invoice Details panel, scroll down to the Applied Payments section and click New Payment. This opens the Payments window, where you’ll be able to input the payment information. When you select a payment method, all open invoices for the client will populate on the screen. From this view, you can enter the payment type, note the last 4 digits of a credit card (if applicable), add payment notes, and specify the amount paid.
Entering Payment Details #
Start by selecting the Create Date, which indicates the date the payment was received. Use the Payment Method dropdown to choose how the payment was made—this could be via credit card, check, ACH, barter, or another accepted type. Based on your selection, you may also need to choose a specific card or account from the available options.
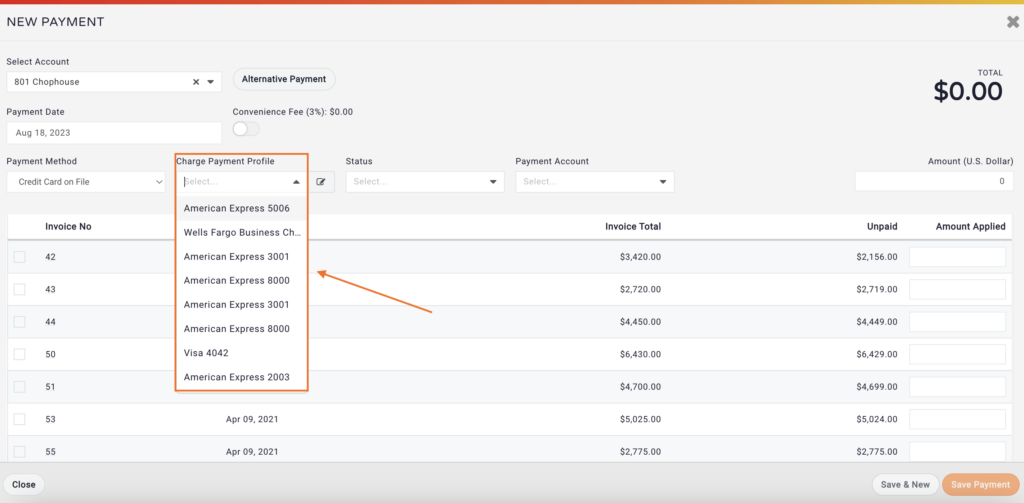
If the customer has a payment method saved, you can select it from the Charge Payment Profile dropdown. If they don’t, or if you need to add a new payment method, click the Add button next to the dropdown to input a new card or account.
For externally processed payments—such as checks or credit cards run outside of MediaOS—you’ll be prompted to enter the last four digits of the card or the check number. If you're working with a non-traditional payment like Barter or Trade, refer to the relevant article for those steps.
You can also assign a status using the dropdown if you’re using a payment pipeline. This helps categorize payments for internal tracking. Once that’s set, input the amount received in the Payment Amount field.
Next, select which invoice—or multiple invoices—the payment should apply to using the invoice selector. If the payment exceeds the total due, the remaining amount can either be left as an unapplied payment on the client’s account or applied to other outstanding invoices. You can learn more about how unapplied payments work by checking our knowledge base article on that topic.
Finally, if there are any notes related to this payment—such as confirmation details, transaction IDs, or team follow-up—enter them in the Payment Notes field. When everything is complete, click Save Payment to finalize the entry.

