Your accounts can access an online portal where they can configure their branding materials.
This article will discuss how to view the Branding Guide link and how to configure an account’s branding preferences using the online portal.
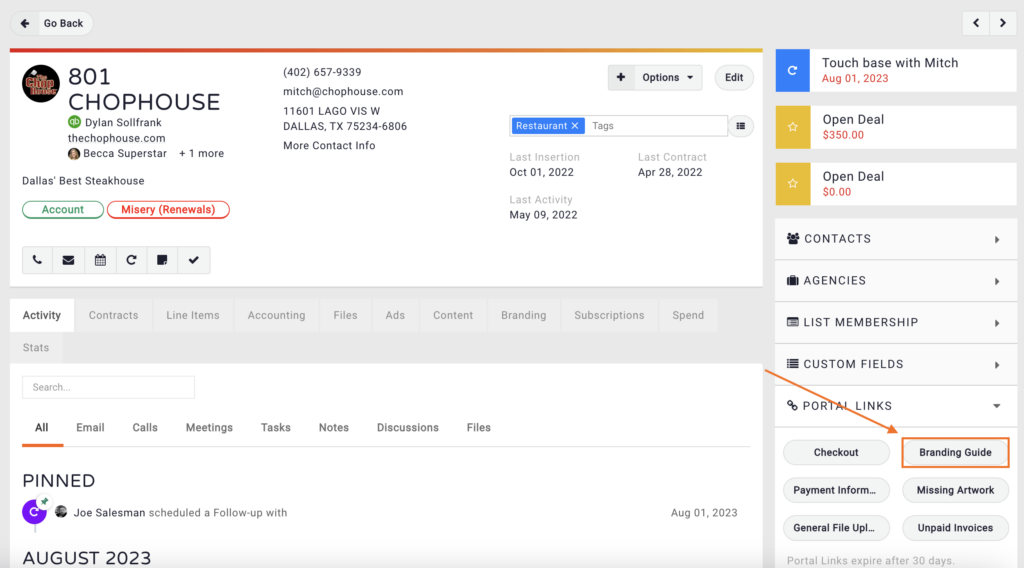
Accessing the Branding Guide Portal Link
- The link for your account’s Branding Guide Portal can be found on the lower right-hand corner of the account details page.
- You can copy and paste this link to send directly to your accounts.
- Note: This link expires every 30 days, so if a client has difficulties accessing the portal, you may need to re-send the link.
Using the Branding Guide Portal
- When a customer accesses the portal, they will have the option to configure their branding preferences.
- Follow the on-screen prompts to complete the branding configuration.
- The client will be initially asked to provide their logo. They will click the Upload Logo button to choose their logo.
- The system will then analyze the logo to best match the colors associated with the brand. You can remove colors by clicking on them.
- Use the Your Website field to input the account’s website.
- Use the Brand section to best describe your brand. You can provide the public-facing name of the business, as well as any attributes associated with the brand.
- Use the Goals section to describe your brand expectations.
- Use the Value Proposition section to provide the brand’s mission statement, consumer benefits, customer information, value proposition, and competitors.
- Use Important Brand Guide Assets to upload any critical design assets for your company’s brand under.
- Click the Upload Asset button to upload additional important graphics.
- Click the Save button when you are finished configuring your brand information.
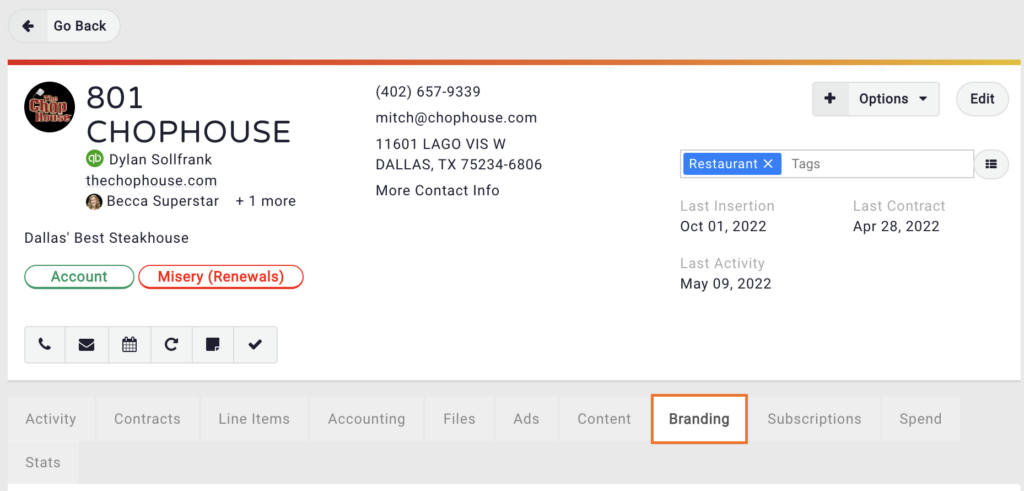
- Once the branding guide is complete, it can be accessed and edited on the Account Details page, under the Branding tab.