

Setting up pipelines gives you a Kanban-style view of your team's process and the work's current status. These pipelines can be set up for most major areas inside MediaOS, including:
- Accounts
- Agencies
- Contact
- Contracts
- Deals
- Content
- Line Items Ad Requests
- Invoices
- The Flat Plan
- Payments
- Tasks
- Products
This article will focus on creating pipelines for Content, Ad Requests, and Flat Plan for your delivery team. For help setting up the other pipelines mentioned, check out this article.
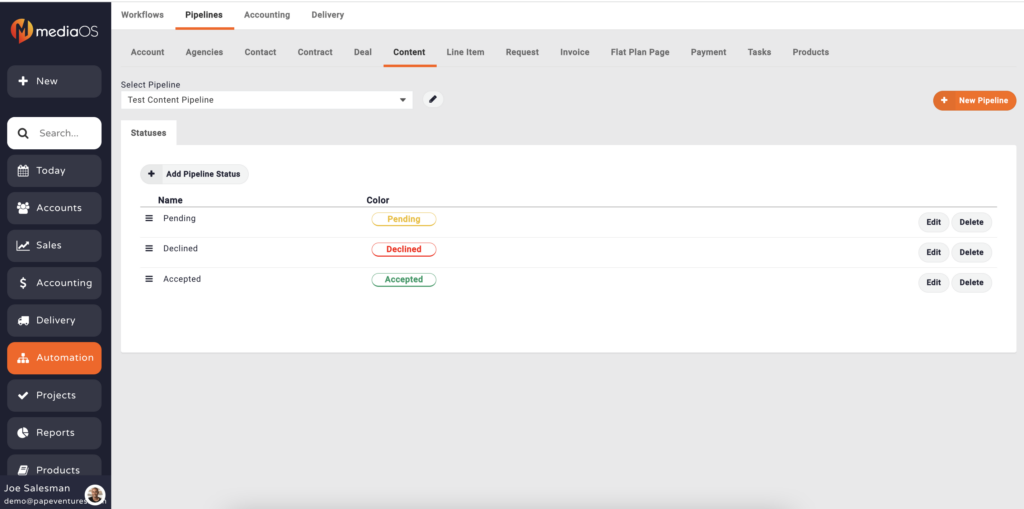
Setting Up a Content Pipeline for Delivery
- Click on the Automation tab on the left-hand menu.
- Choose Pipelines from the top menu.
- Click Content on the menu just below.
- Create your Content Pipeline by clicking + New Pipeline.
- Or, use Select Pipeline to filter between the pipelines you've already set up.
- Name your pipeline in the box that appears.
- Click Create Pipeline.
- Click + Add Pipeline Status to add the first stage of your content delivery process.
- Examples of some content pipeline statuses would include: Story Pitch, Assigned, Ready for Review, Needs Revisions, and Approved.
- In the pop-up, name the pipeline status (see prior step for example pipeline statuses) and choose a color.
- Click Save.
- Continue adding in your content pipeline statuses.
- Note: Now that you've created a pipeline for your content process, you can tie automations to each pipeline status. See this article, section "Tying Automations/Workflows to Pipeline Statuses" for more information.
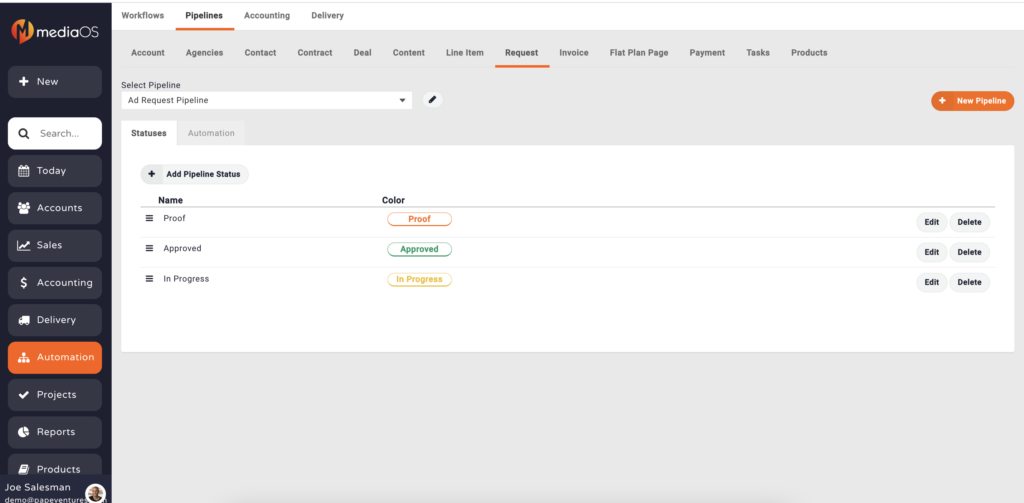
Setting Up an Ad Request Pipeline
- In the Automation tab, under Pipelines (see steps 1-2 in the above section "Setting Up a Content Pipeline" for help navigating.)
- Choose Request on the menu just below.
- Create a new pipeline, name it, and click Save Pipeline (see steps 4-6 in the above section "Setting Up a Content Pipeline" for additional help).
- Click + Add Pipeline Status to add the first stage of your ad request process.
- Examples of some Ad Request Pipeline statuses would include: Request Received, Materials Received, Design in Progress, Proof Ready for Review, Proof Declined, and Approved.
- In the pop-up, name the pipeline status (see prior step for example pipeline statuses) and choose a color.
- Click Save.
- Continue adding in your ad request pipeline statuses.
- Note: Now that you've created a pipeline for your ad request process, you can tie automations to each pipeline status. See this article, section "Tying Automations/Workflows to Pipeline Statuses" for more information.
Flat Plan Pipeline Set Up
- In the Automation tab, under Pipelines (see steps 1-2 in the above section "Setting Up a Content Pipeline" for help navigating.)
- Choose Flat Plan Page on the menu just below.
- Create a new pipeline, name it, and click Save Pipeline (see steps 4-6 in the above section "Setting Up a Content Pipeline" for additional help).
- Click + Add Pipeline Status to add the first stage of your ad request process.
- Examples of some Flat Plan Pipeline statuses would include: Content, No Status, In Progress, Complete, Print Ready, and Error.
- In the pop-up, name the pipeline status (see prior step for example pipeline statuses) and choose a color.
- Click Save.
- Continue adding in your flat plan pipeline statuses.
- Note: Now that you've created a pipeline for your flat plan process, you can tie automations to each pipeline status. See this article, section "Tying Automations/Workflows to Pipeline Statuses" for more information.


