

The following steps will walk you through the process of setting up your MediaOS Business Directory for your WordPress site.
- Click on the Websites tab in the left-hand menu.
- Choose Directory from the top menu.
- In the drop down, choose + Manage Directories.
- On the pop up that appears, name your new directory.
- Note: If you’re setting up categories by brand, you’re going to only have one directory. If you have multiple brands, you may want to set up multiple directories.
- We Recommend: Naming your directory something meaningful that coincides with the brand or what it is.
- Whether to set up separate directories or create sections within:
- You could have a completely separate directory for things you want to keep out of your main directory (for example, doctors). Or, you can set up multiple sections inside and can pull out specific directories (like the doctors directory) outside of your main directory and list it on a dedicated page by itself, if needed.
- If you want them to be 100% separate without any bleed over or interaction between directories, then you’ll want to just create separate directories for each.
- Click Save.
- On the next pop up screen, click the X to close the pop up.
- On the drop down, choose the directory you just created.
- Underneath, click the box that says + Add Category.
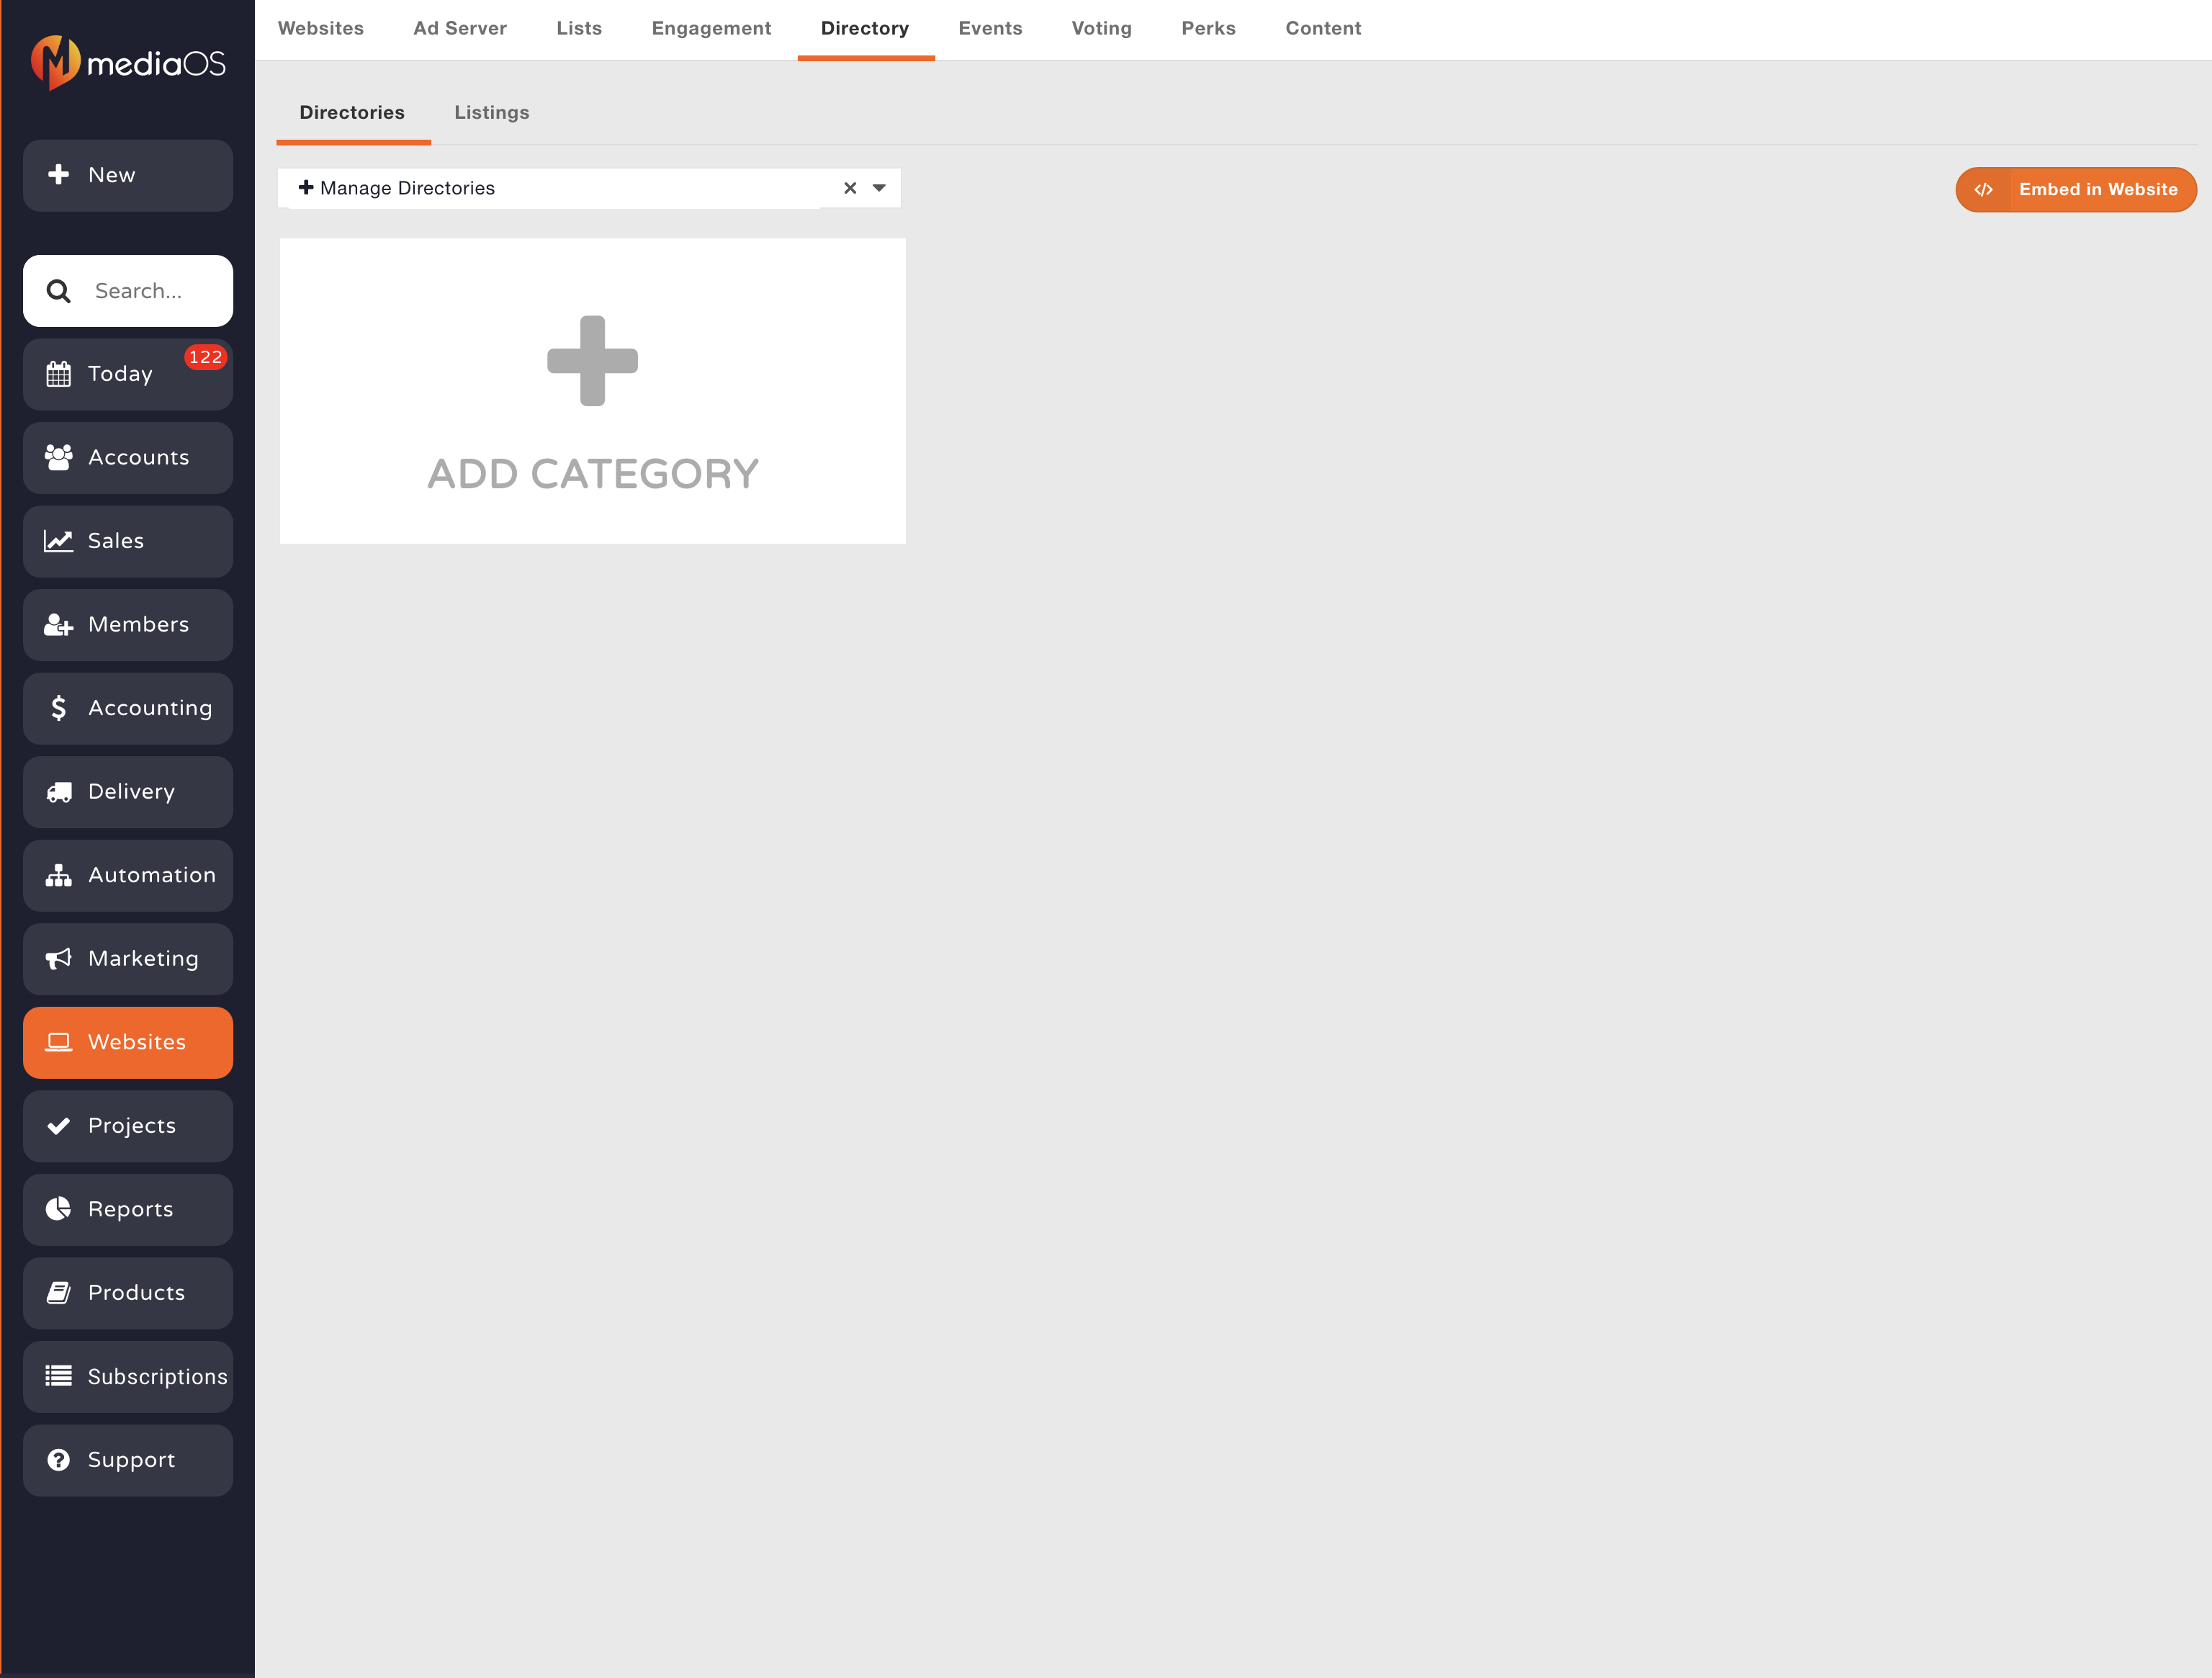
- On the pop up that appears, name your new category.
- Note: These categories can be broad topics like Dining, Music, etc.
- Click Category Image to upload a specific image.
- Note: You’ll want these to be decent-sized images. MediaOS will auto-optimize the image, if needed. You will also want to be careful with the coloring of the images with how they will appear once uploaded. MediaOS might make some adjustments to the category label font (such as adding a shadow on the text for readability) to help it stand out better.
- Click Save.
- Add additional categories as you need.
- On the pop up that appears, name your new category.
Adding Subcategories and Additional Structuring
- On the Business Directory page, click + Add Category under the main categories you’ve already created to add a subcategory.
- In the pop up that appears, name your new subcategory (For example, if your main category was food, you could add subcategories for Italian, Mexican, Asian, etc.)
- Click Save.
- Add additional subcategories as you need.
- To add an additional layer of categories under each, click on the subcategory you just created (ex. Asian).
- Click the Add Sub Category button.
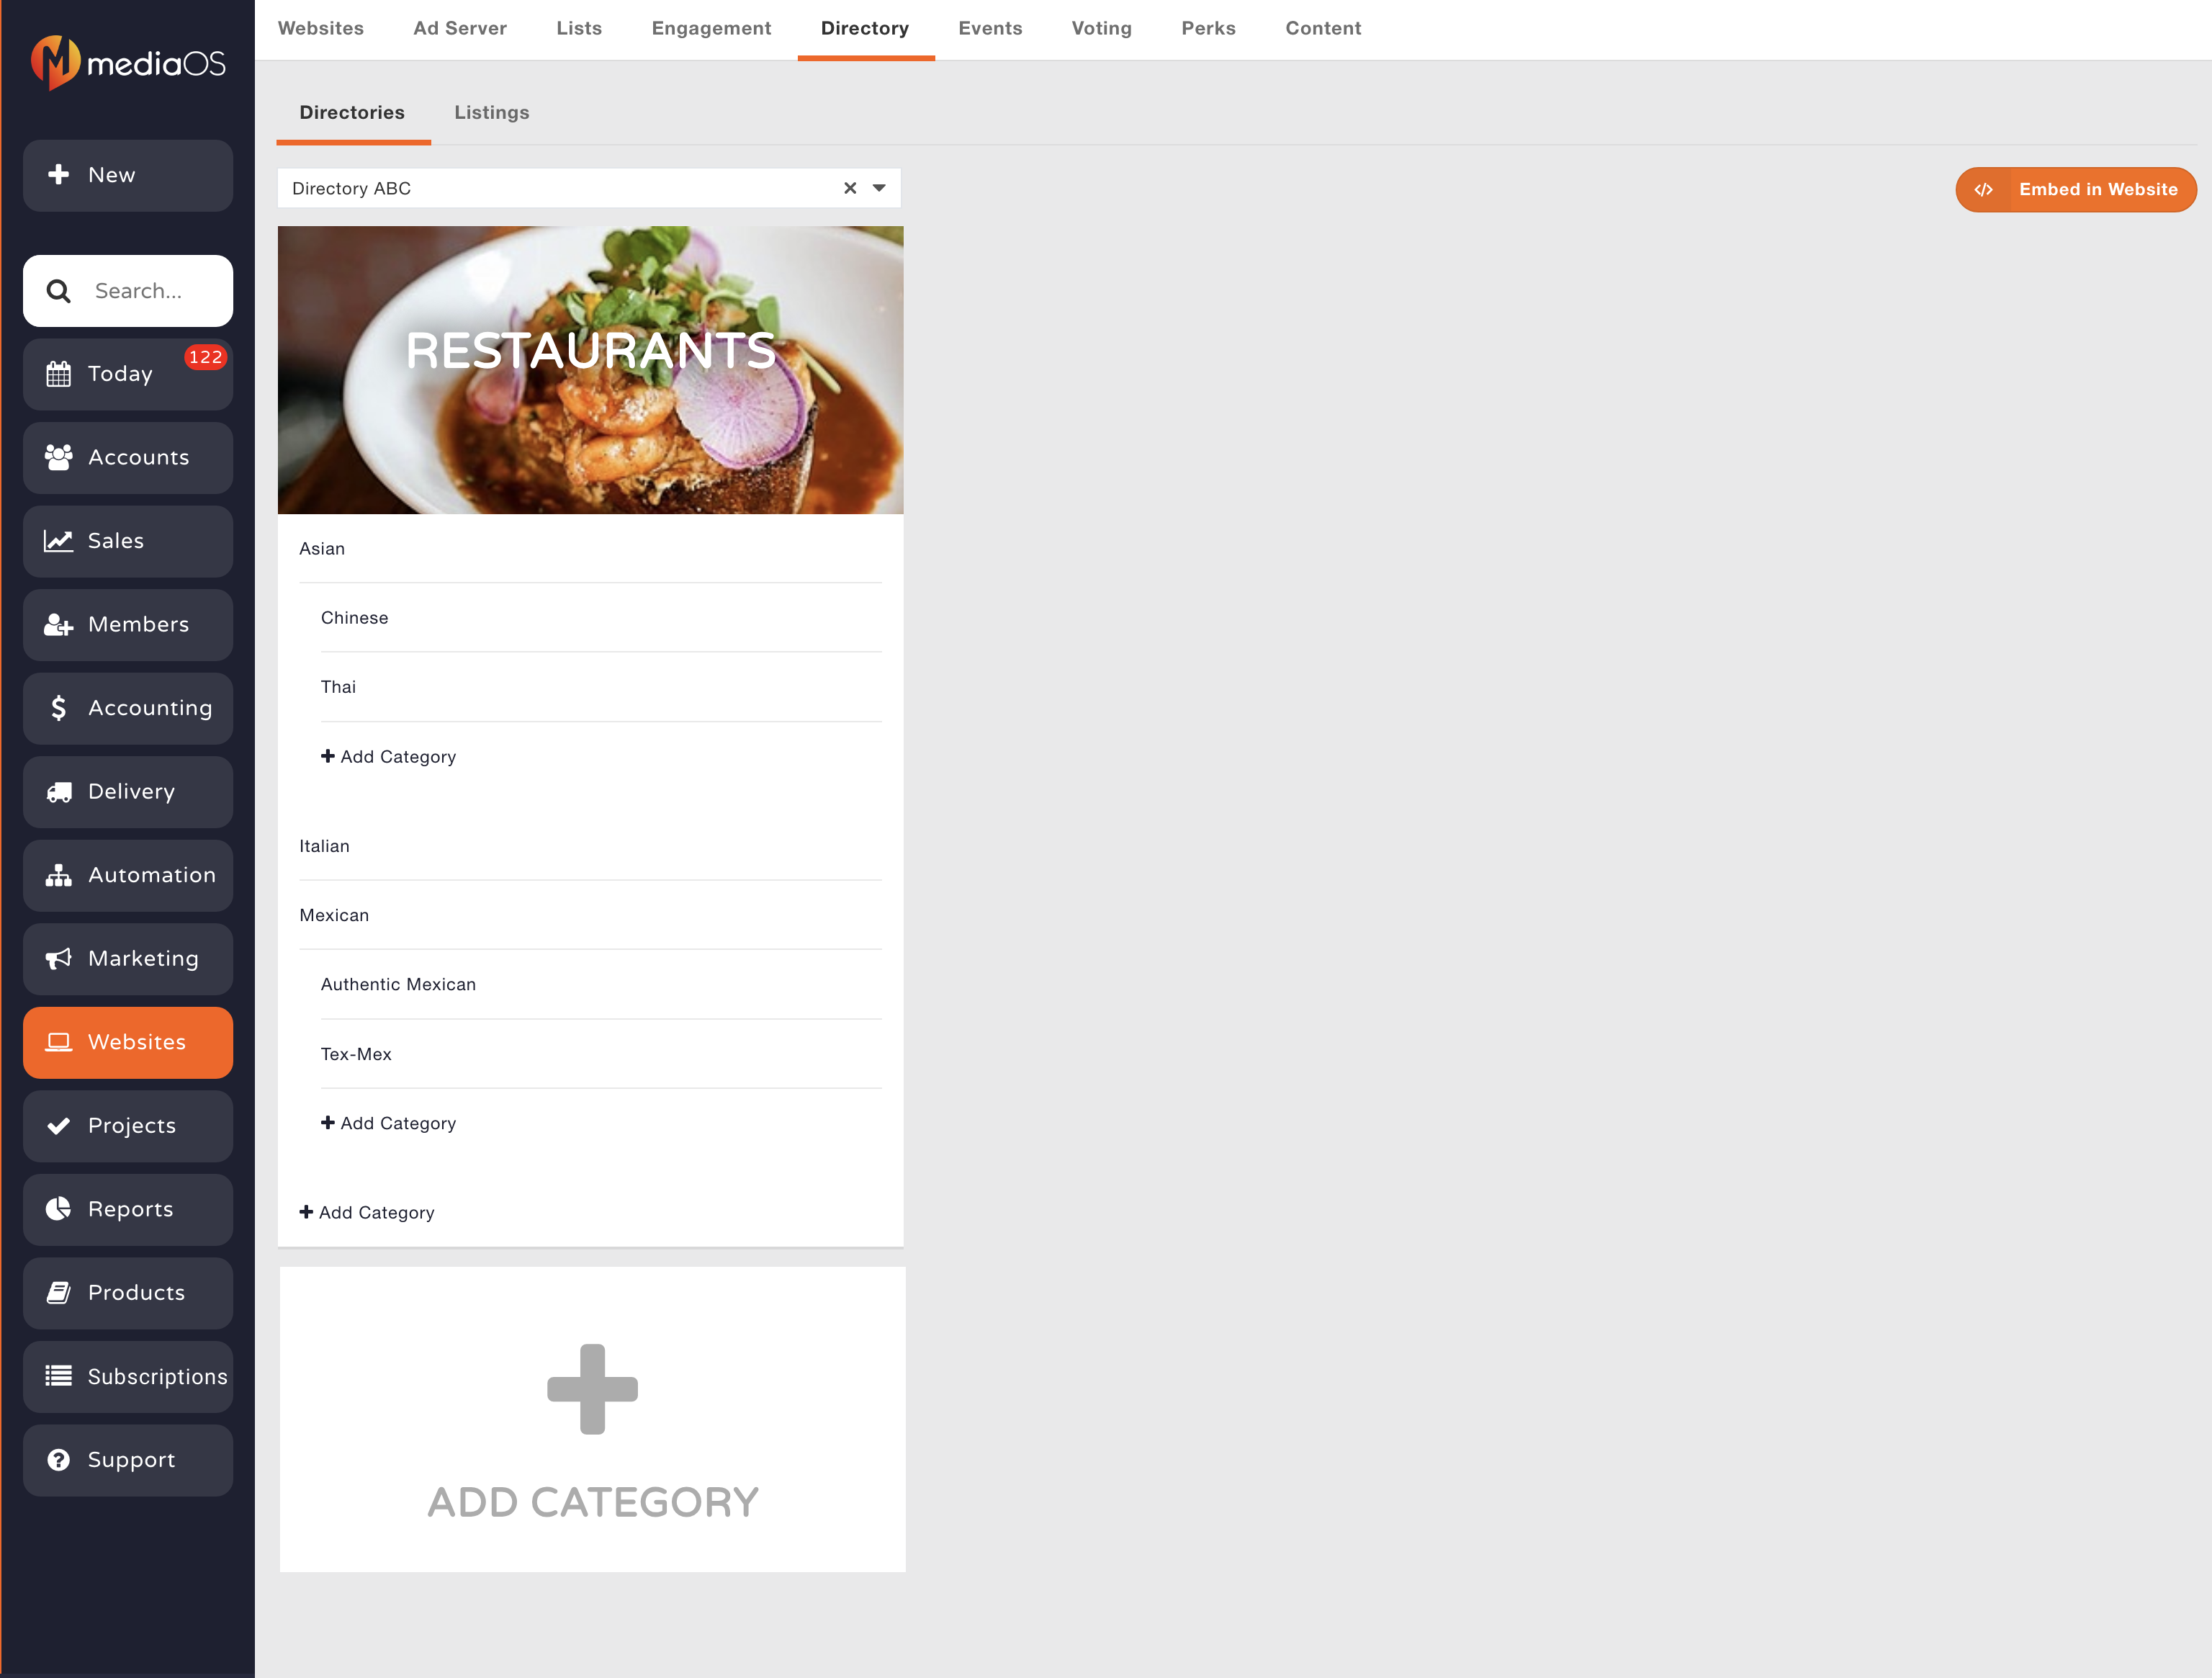
- In the pop up that appears, name your new subcategory (For example: Thai, Chinese, etc.)
- Add additional subcategories as you need.
- Note: We recommend not adding more layers of subcategories than the ones we’ve already walked through. If you go too granular with your categories, it will make your business directory start to feel sparse and empty.
How to Embed the Business Directory in Your WordPress Website
Once you’ve finished setting up your business directory and creating your categories, you’re ready to embed the directory into your WordPress site.
NOTE: You need to have the WordPress plugin installed before embedding the business directory. Learn how to install the WordPress plugin.
- On the Business Directory page, click Embed in Website.
- In the pop up that appears, click on the Embed Code to copy it.
- Paste this code into the WordPress page on your site that you want to put your Business Directory on.
And you’re done! Now you’re ready to set up your listings and allow your customers to input their business information.

